
Discover how to track lead conversion events using Better Auth and LinkKit.
When tracking conversions, a lead event occurs when a user takes an action that shows interest in your product or service. Examples of lead conversion events include:
- Creating an account
- Scheduling a demo meeting
- Joining a mailing list
These actions indicate user intent and help you identify potential customers within your conversion funnel.
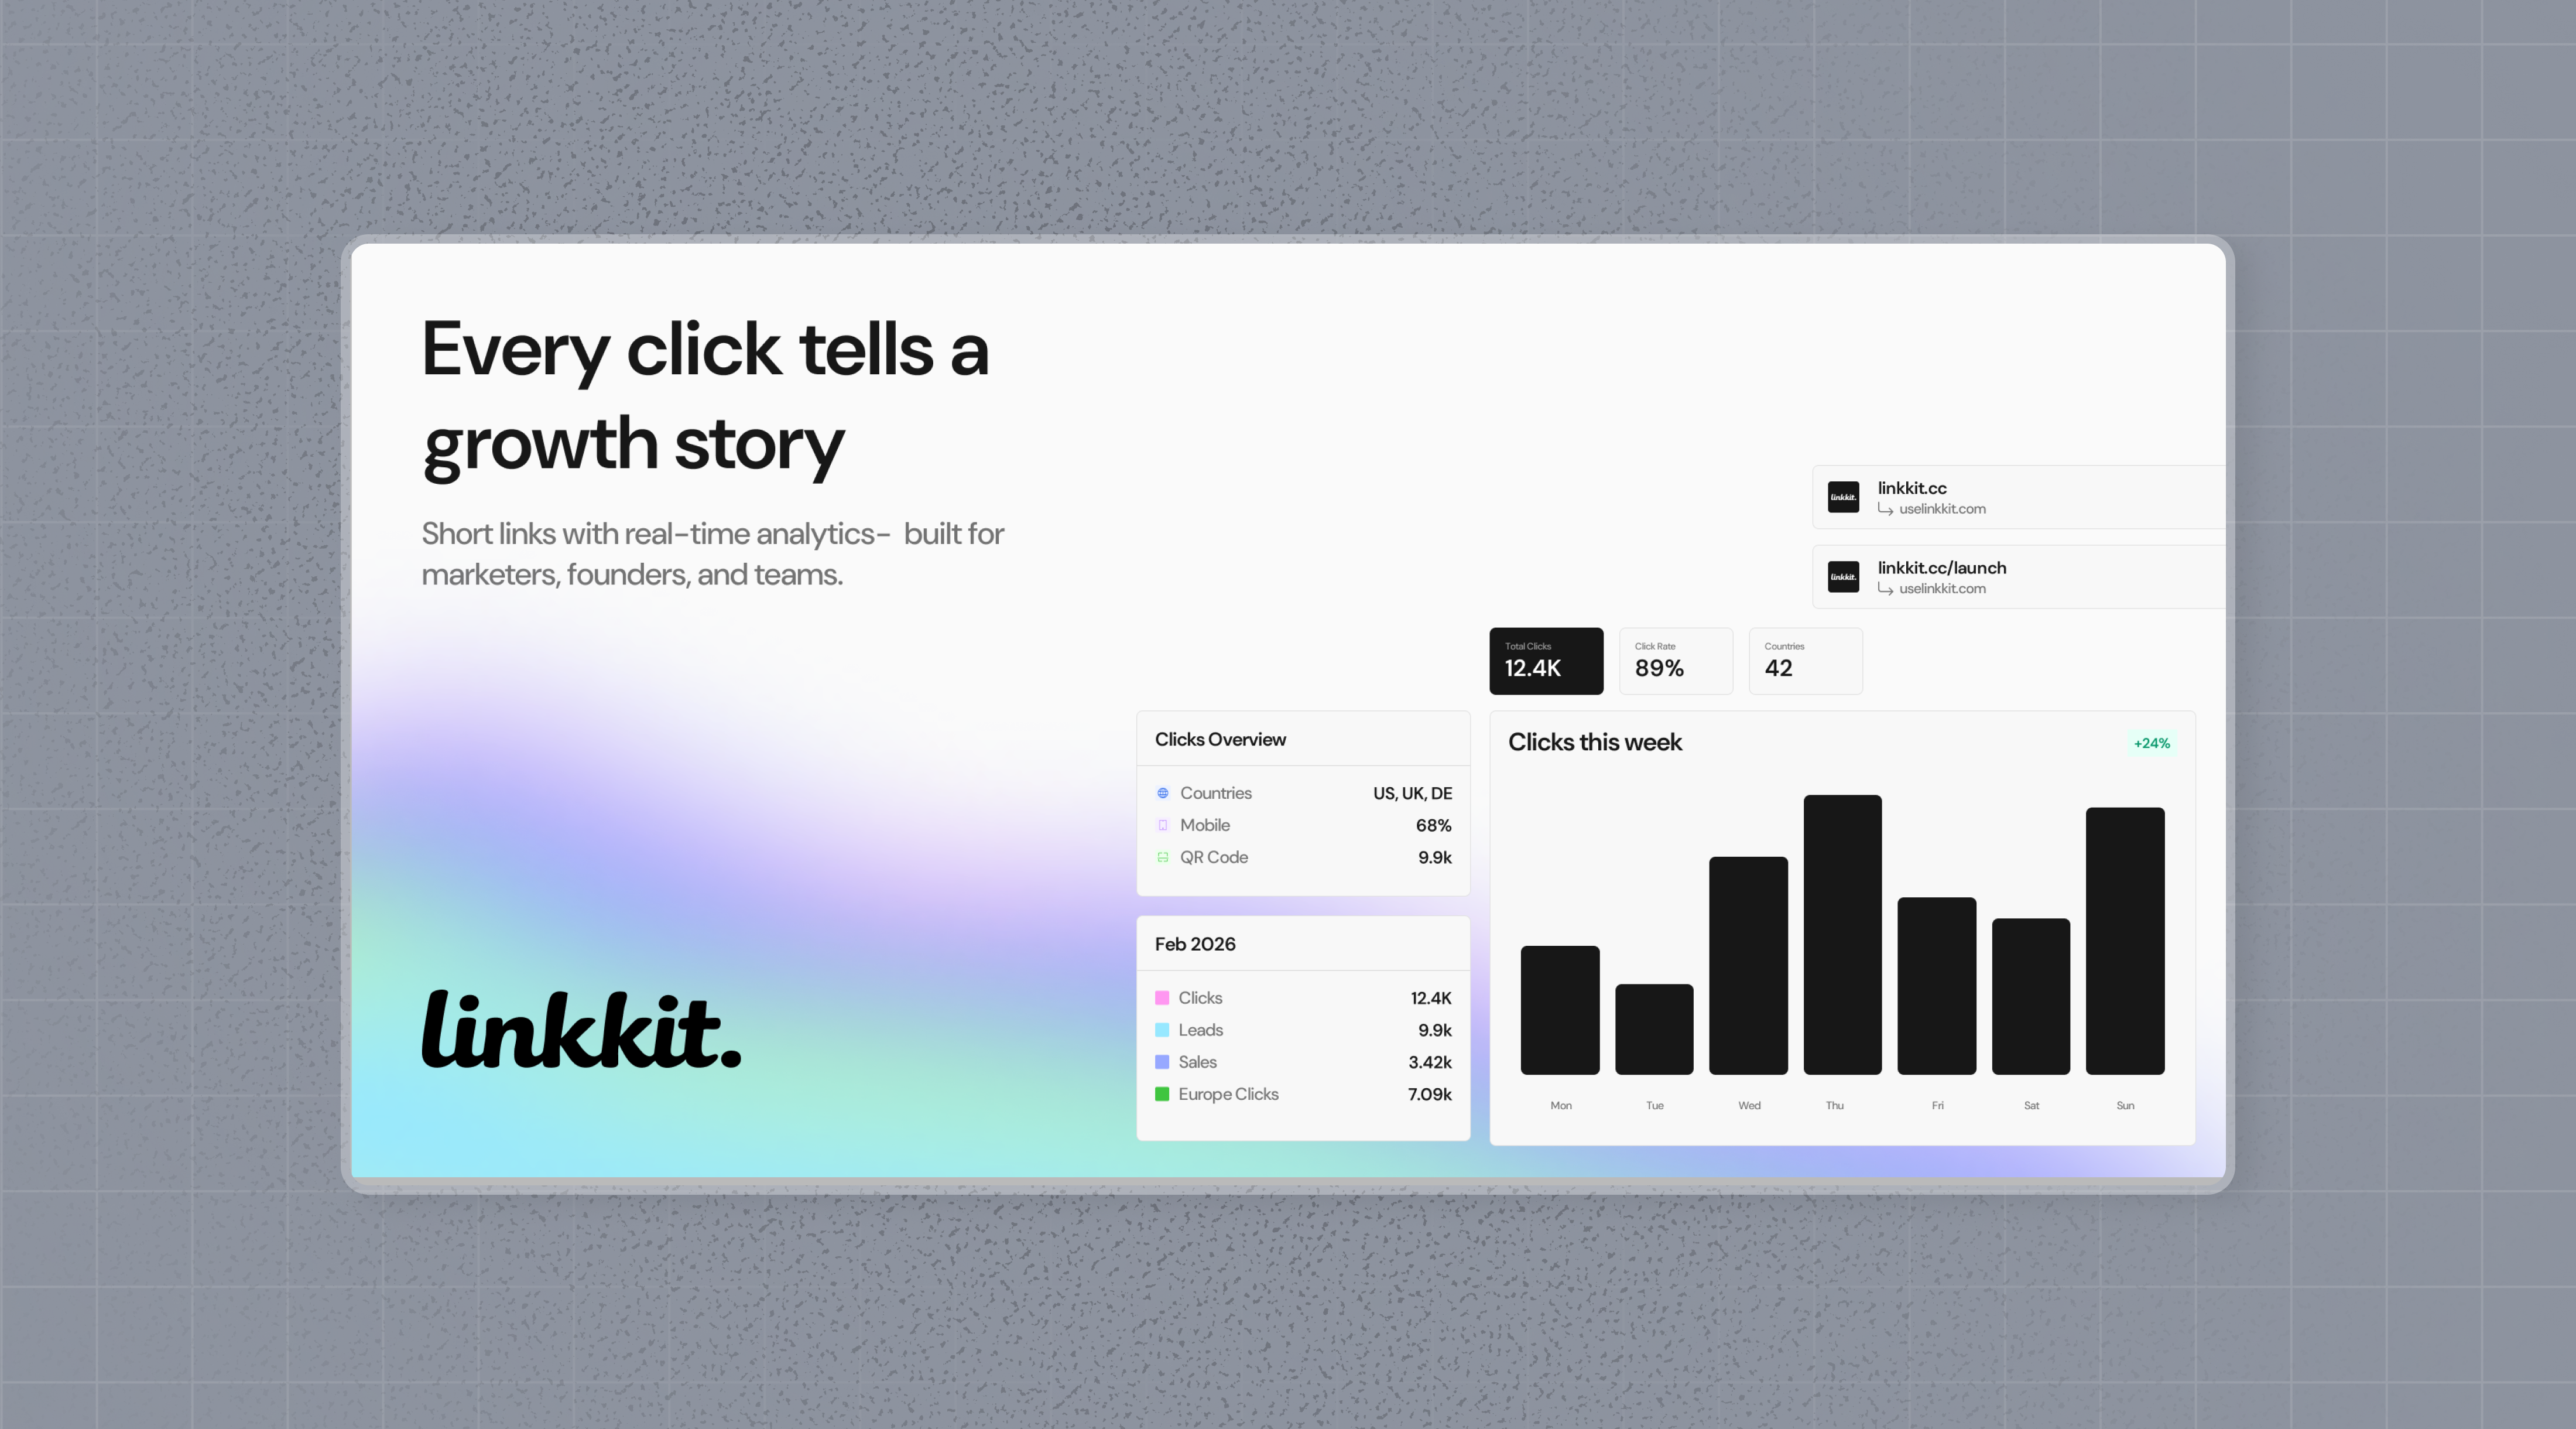
In this guide, we'll focus on tracking new user sign-ups for a SaaS application that uses Better Auth for user authentication.
Prerequisites
Before you can start tracking conversions, you’ll need to enable conversion tracking for your LinkKit links.
Once enabled, LinkKit will be able to capture sign-up events and attribute them to the corresponding link clicks.
Option 1: Enable Conversion Tracking at the Workspace Level
Navigate to your workspace's Tracking Settings page.
Enable the Workspace-level Conversion Tracking toggle.
Once enabled, all new links created in the workspace will have conversion tracking turned on by default.
Option 2: Enable Conversion Tracking at the Link Level
To enable conversion tracking for an individual link:
Open the LinkKit Link Builder for the link you want to track.
Turn on the Conversion Tracking toggle.
This allows you to selectively enable conversion tracking only for the links where you want to measure conversions.
Option 3: Enable Conversion Tracking via the API
When creating or updating a link, simply pass trackConversion: true in your API request. This will enable conversion tracking for that link automatically.
Once conversion tracking is enabled, you’ll need to install the LinkKit Analytics script on your website to track conversion events.
You can install the LinkKit Analytics script in several different ways depending on your website setup.
Add the ?linkkit_id=test parameter to your website URL and check that the linkkit_id cookie is successfully created in your browser.
If both validations are successful, your analytics script setup is complete.
If the checks fail, verify the following:
Make sure the analytics script has been placed inside the page’s <head> section.
If your website uses a content delivery network (CDN), clear the cache and refresh the deployment to ensure the latest script changes are active.
Installation
1. Install the @linkkit/better-auth Plugin
To begin the setup process, install the @linkkit/better-auth plugin using your preferred package manager.
npm install @linkkit/better-authyarn add @linkkit/better-authpnpm add @linkkit/better-authbun add @linkkit/better-auth2. Configure the Plugin
Next, add the LinkKit Better Auth plugin to your Better Auth configuration file to enable conversion tracking functionality.
import { linkkitAnalytics } from "@linkkit/better-auth";
import { betterAuth } from "better-auth";
import { LinkKit } from "linkkit";

const linkkit = new LinkKit();

export const auth = betterAuth({
  plugins: [
    linkkitAnalytics({
      linkkitClient: linkkit,
    }),
  ],
});
View Your Conversions
After completing the setup, all tracked conversion events will be available in LinkKit Analytics.
LinkKit provides multiple views to help you analyze and understand your conversion performance:
Time-Series View
Track conversion trends over time with a time-series view that displays the number of:
- Clicks – Total link clicks recorded.
- Leads – Number of lead conversion events captured.
- Sales – Number of successful purchase events tracked.
This view helps you monitor conversion growth and understand how users move through your funnel over time.
Funnel Chart View
Analyze your conversion funnel with a visual representation of conversion and drop-off rates across each stage:
Clicks → Leads → Sales
This view helps you identify how users progress through each step of the funnel, understand where conversions are being lost, and find opportunities to improve your overall conversion rate.
Real-Time Events Stream
Stay updated with a live stream of every conversion event tracked across all links in your workspace.
This view provides real-time visibility into:
- Lead events as they are recorded.
- Sale events as they happen.
- Conversion activity from all tracked links.
Use the real-time events stream to monitor incoming conversions, verify tracking implementation, and quickly understand user activity across your workspace.