
Learn how to track conversion events in Linkkit using secure server-side event tracking.
Linkkit's advanced attribution platform helps you understand which links, campaigns, and marketing channels drive real users, meaningful conversions, and measurable business growth.
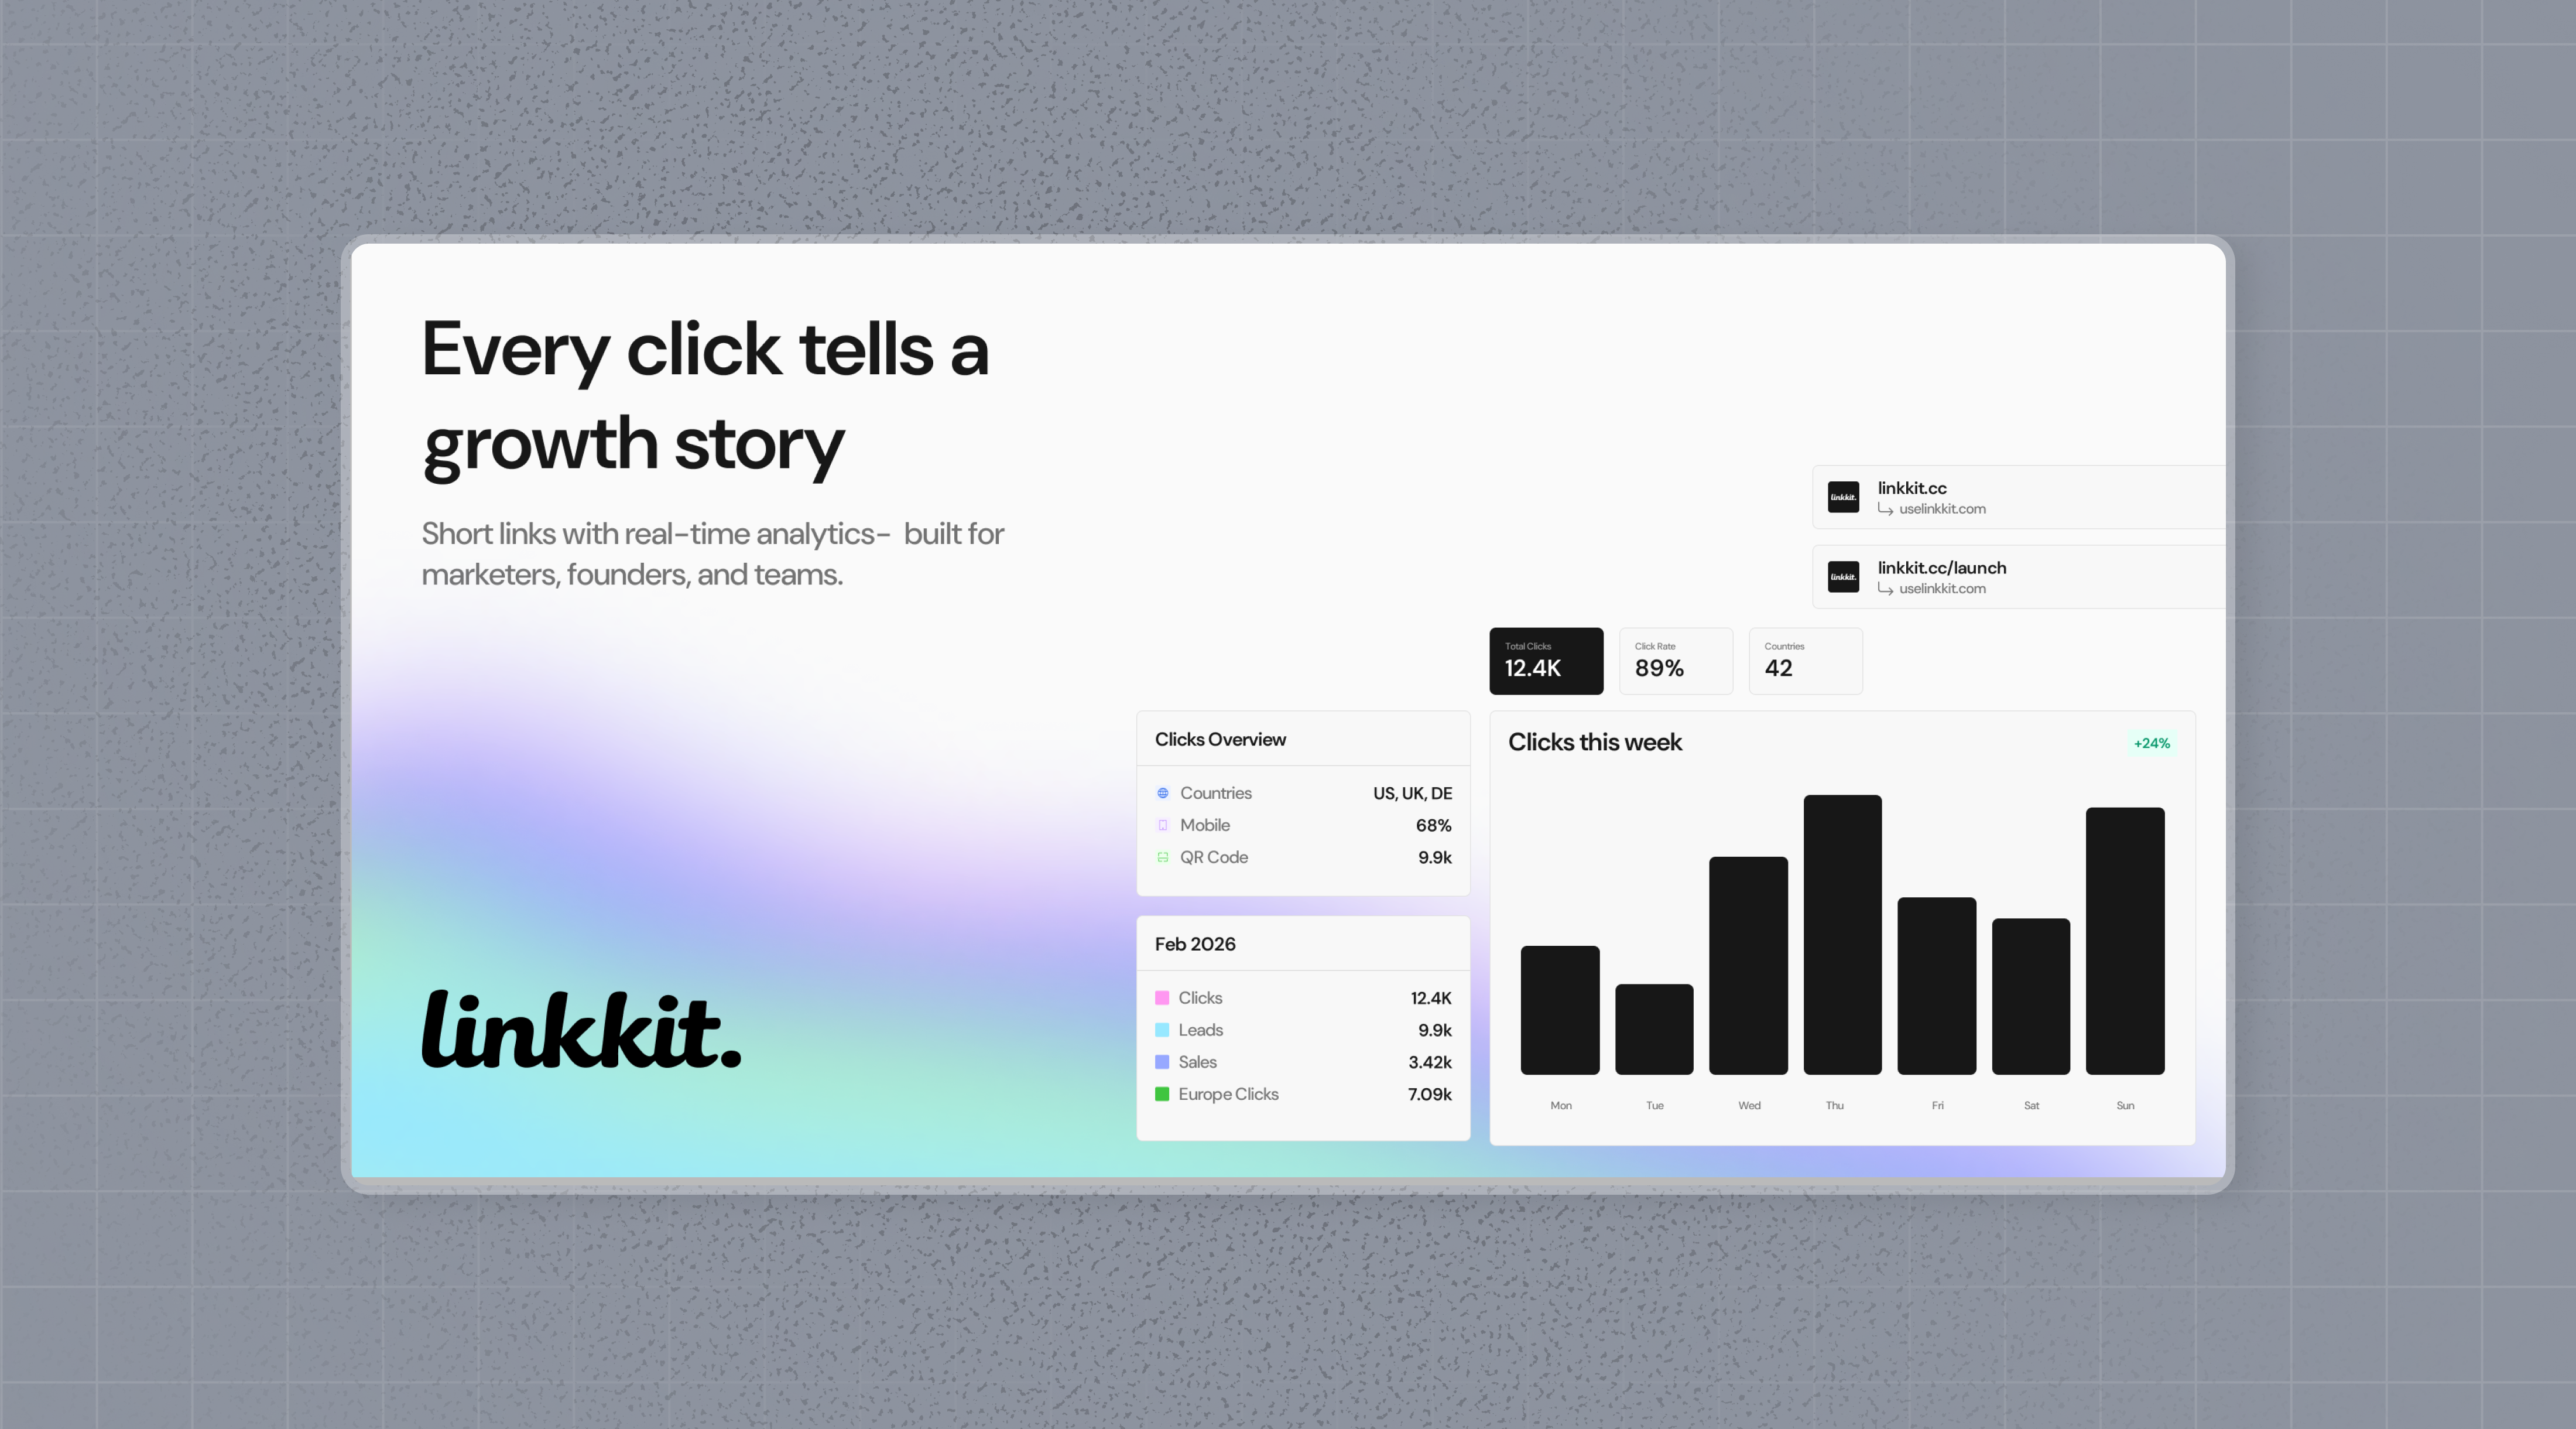
In this guide, we’ll learn how to track conversion events with Linkkit using server-side tracking.
Step 1: Enable conversion tracking for your links
You’ll first need to activate conversion tracking for your Linkkit links before you can begin tracking conversions.
Option 1: At the Workspace Level
Go to your workspace's Tracking Settings page.
Turn on the Workspace-Level Conversion Tracking option.
Enabling conversion tracking for a workspace
Once enabled, conversion tracking will automatically be applied to all future links created through the Linkkit Link Builder within that workspace.
Option 2: At the Link Level
To do this, open the Linkkit Link Builder for the desired link and turn on the Conversion Tracking option.
Enabling conversion tracking for a link
This will activate conversion tracking only for the selected link.
You can also press the **C** keyboard shortcut while using the Linkkit Link Builder to quickly enable conversion tracking for a specific link.
Option 3: Via the API
Step 2: Install the Linkkit Analytics Script
Next, you'll need to install the Linkkit Analytics script.
This script detects the linkkit_id query parameter and stores it as a first-party cookie. The cookie is then used to attribute future conversion events back to the original link that referred the visitor.
You can install the Linkkit Analytics script using any of the following method
Open your browser's developer console and type _linkkitAnalytics. If the script is installed properly, you should see the _linkkitAnalytics object displayed in the console.
Add the query parameter ?linkkit_id=test to your website URL and confirm that a linkkit_id cookie is created in your browser.
If both checks are successful, the script has been installed correctly.
If not, please ensure that:
The analytics script has been added to the <head> section of your website.
If you're using a Content Delivery Network (CDN), clear or purge any cached content to ensure the latest version of the script is being served.
Step 3: Install the Linkkit Server-Side SDK
Depending on the framework or platform you're using, you can integrate one of our native Linkkit Server-Side SDKs to track conversion events. These SDKs allow you to send conversion data directly from your server for accurate attribution and reporting.
If Your Framework Isn't Supported
If you're using a framework that isn't listed above, you can track conversion events server-side using the Linkkit REST API:
- POST /track/lead
- POST /track/sale
Step 4: Track Conversion Events
Now it's time to start tracking conversion events.
Tracking Lead Events
The first type of event you'll typically track is a lead event. A lead event occurs when a visitor takes an action that shows interest in your product or service.
Examples of lead events include:
- Creating a new account
- Adding a product to their cart
- Subscribing to a newsletter or mailing list
- Requesting a demo or consultation
- Filling out a contact form
These actions help you identify and measure user engagement before a purchase is made.
Our most commonly tracked lead event is Sign Up, which occurs when a user creates a new account.
Depending on the authentication system or framework you're using, there are several ways to send Sign Up lead events to Linkkit. Here are a few examples:
The lead event acts as the primary source of truth for identifying the customer and determining which link referred them. Once a lead event has been recorded, any future actions taken by that customer—such as upgrading their subscription or making a purchase—can be automatically attributed to the original referring link.
Tracking Sale Events
The next type of event you'll want to track is a sale event. A sale event occurs when a user completes a revenue-generating action related to your product or service.
Examples of sale events include:
- Subscribing to a paid plan
- Upgrading from one plan to a higher-tier plan
- Purchasing a product
- Renewing a subscription
- Making any other qualifying payment
By tracking sale events, you can accurately measure revenue and attribute conversions back to the original referral source.
Depending on the payment platform you're using, Linkkit provides native integrations for:
Alternatively, you can track sale events manually using the Linkkit SDKs or by sending requests to the POST /track/sale API endpoint.
Step 5: View Your Conversions
Once conversion tracking has been enabled and events are being recorded, all conversion data will be available in your Linkkit Analytics Dashboard.
Linkkit provides three different views to help you analyze and understand your conversion performance:
Time-Series View
A time-based chart displaying the number of clicks, leads, and sales over a selected period, making it easy to monitor trends and performance over time.
Time-series chart showing clicks, leads, and sales.
Funnel View
A funnel visualization that shows conversion and drop-off rates throughout the customer journey, from Clicks → Leads → Sales. This helps identify where users are dropping off and where optimization opportunities exist.
Funnel chart displaying conversion and drop-off rates from Clicks → Leads → Sales.
Real-Time Events Stream
A live feed showing every conversion event as it happens across all links within your workspace. This provides immediate visibility into user activity and conversion performance.
The Events Stream dashboard in Linkkit Analytics.