
Learn how to track user sign-ups with Supabase and LinkKit
When tracking conversions, a lead event is recorded when a user takes an action that shows interest in your product or service. Some common examples include:
- Creating an account
- Scheduling a demo meeting
- Subscribing to a mailing list
These actions help identify potential customers and allow you to measure how effectively your marketing efforts are generating leads.
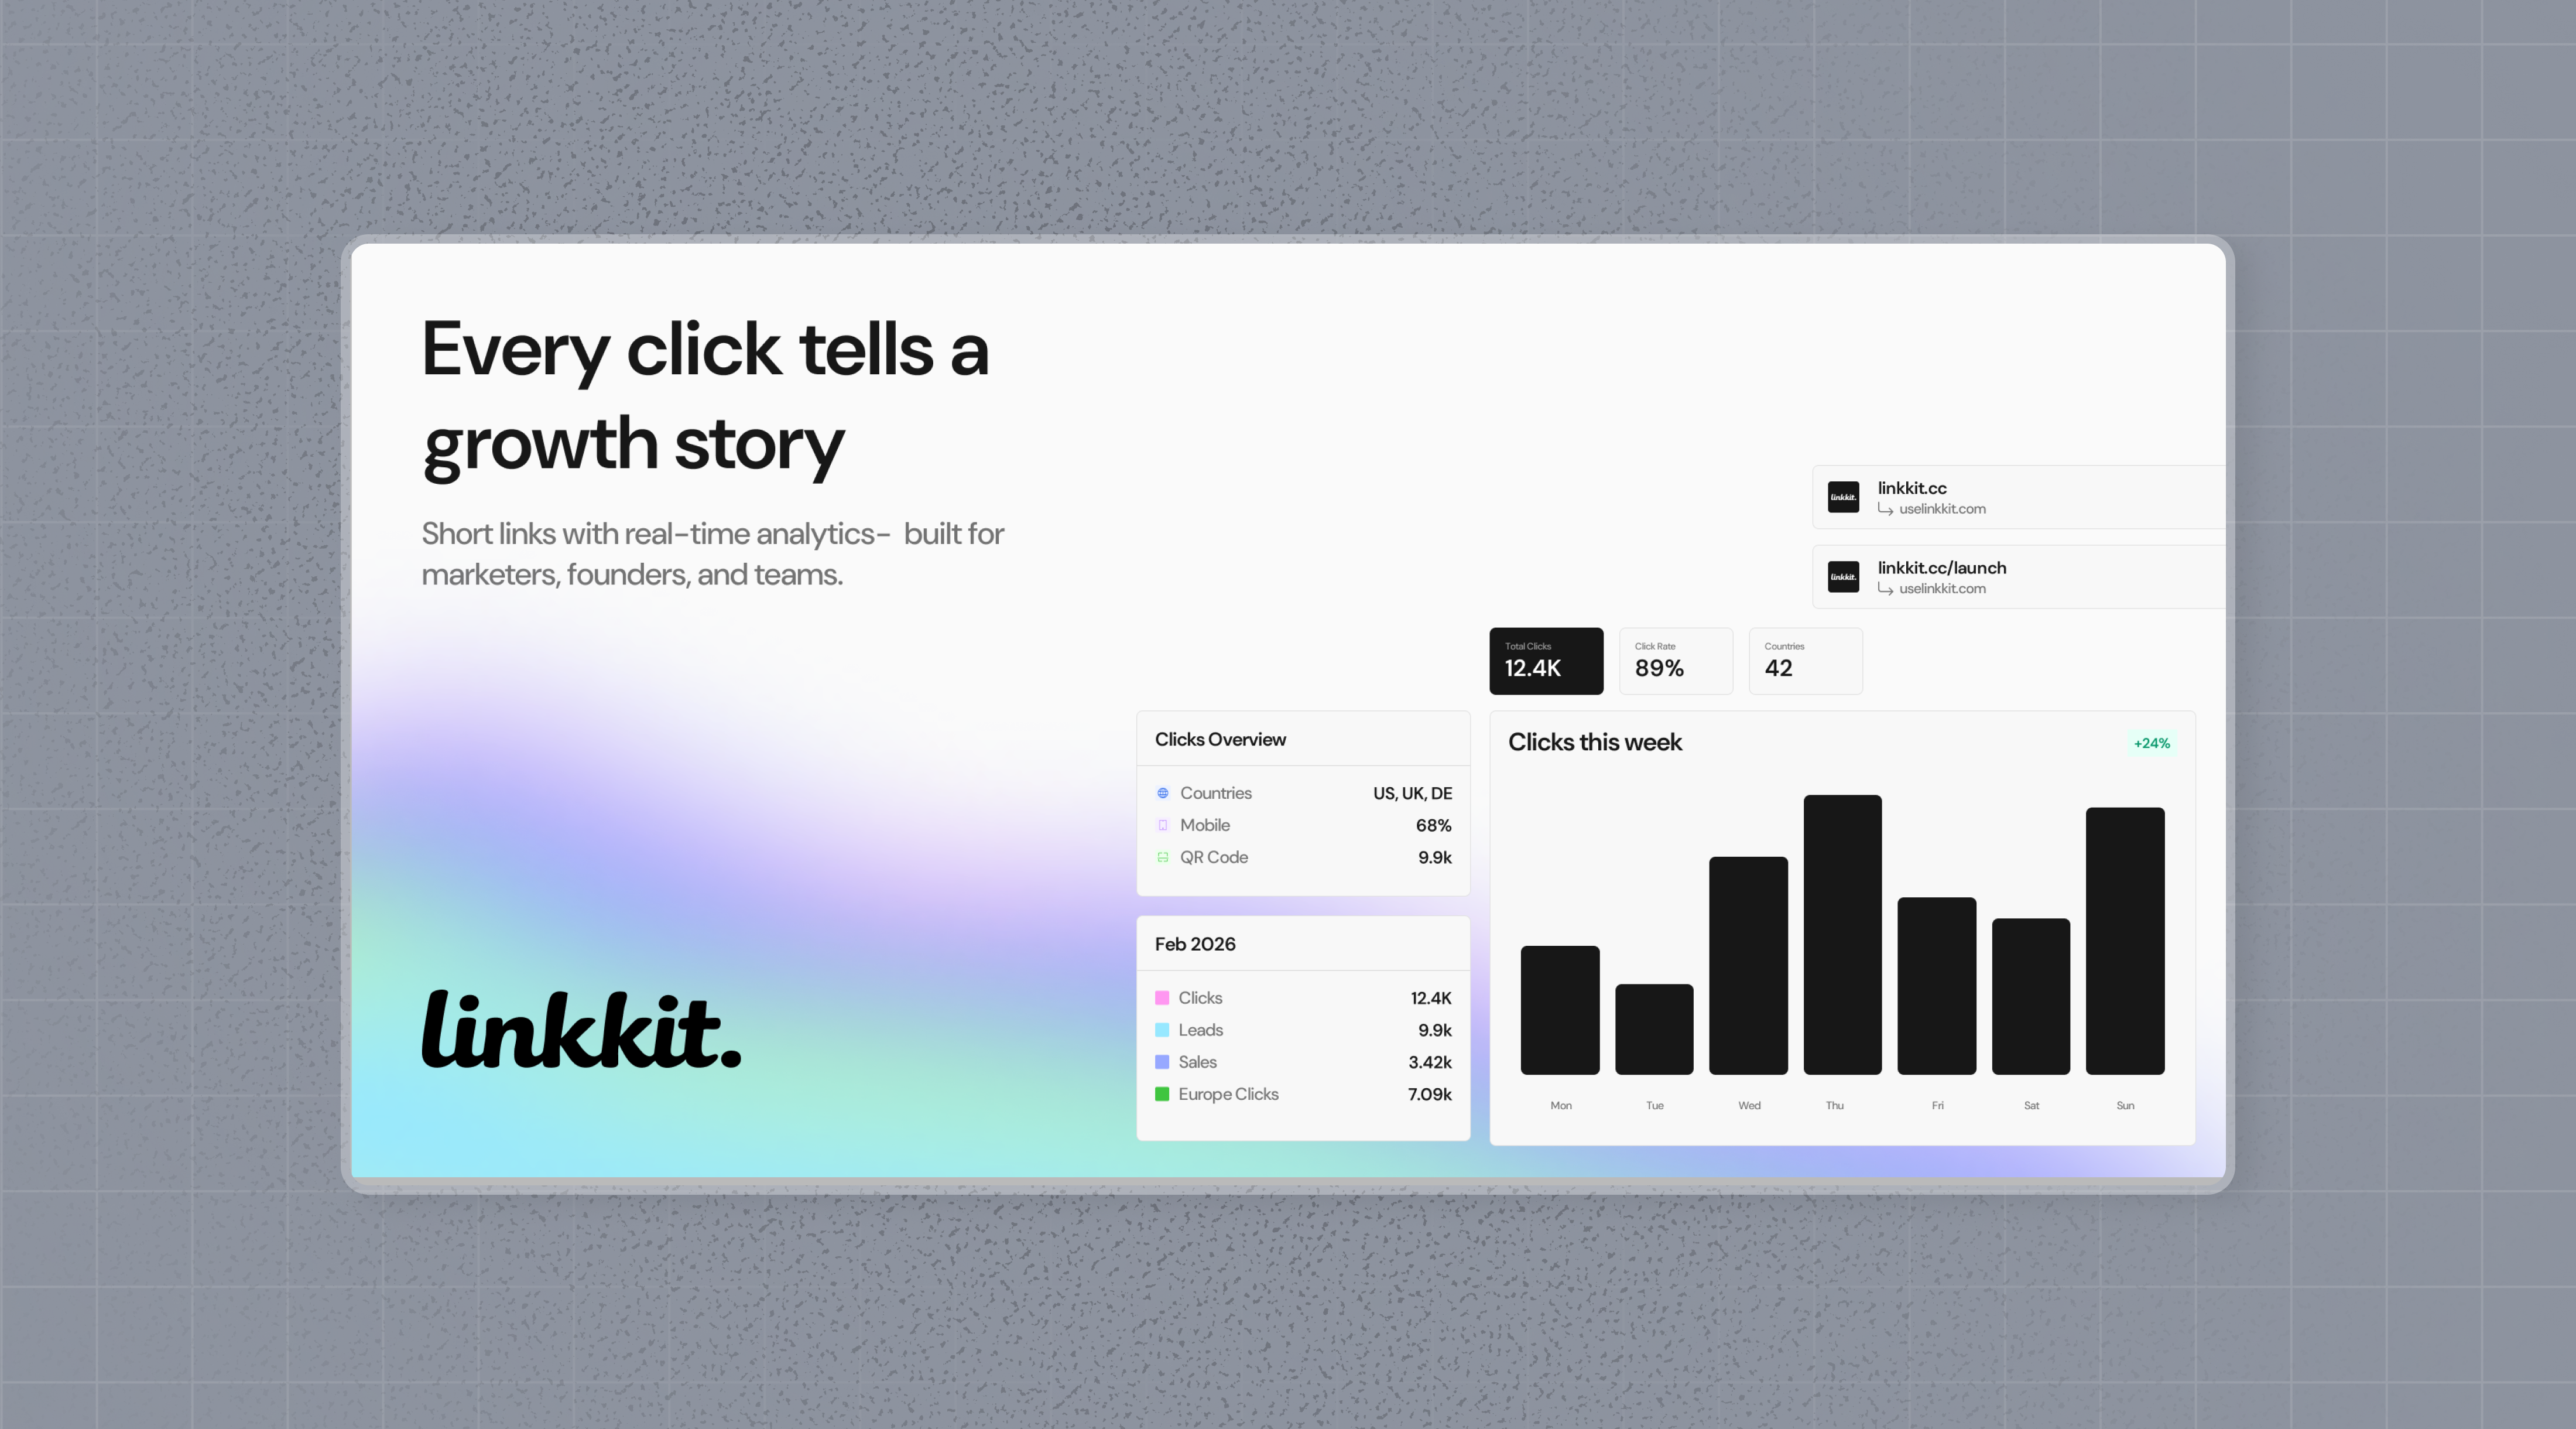
In this guide, we’ll focus on tracking new user sign-ups for a SaaS application that uses Supabase for user authentication.
Prerequisites
Before you can begin tracking conversions, you’ll need to enable conversion tracking for your LinkKit links.
Once enabled, LinkKit will be able to capture sign-up events and associate them with the links that contributed to those conversions.
Option 1: Enable Conversion Tracking at the Workspace Level
1. Open your workspace’s **Tracking Settings** page.
2. Enable the **Workspace-level Conversion Tracking** toggle.
Once enabled, all newly created links in the workspace will have conversion tracking activated by default.
Option 2: Enable Conversion Tracking at the Link Level
To enable conversion tracking for a specific link:
Open the LinkKit Link Builder for the link you want to track.
Turn on the Conversion Tracking toggle.
This allows you to choose which links should collect conversion data while keeping other links unaffected.
Option 3: Enable Conversion Tracking via the API
When creating or updating a link, include the trackConversion: true parameter in your API request to activate conversion tracking for that link.
Once conversion tracking is enabled, you’ll need to install the LinkKit Analytics script on your website to begin tracking conversion events.
You can add the LinkKit Analytics script using different methods based on your website setup and technical requirements.
Add the ?linkkit_id=test query parameter to your website URL and confirm that the linkkit_id cookie is being created in your browser.
If both checks are successful, the analytics script installation is complete.
If the verification does not work, check the following:
Ensure the analytics script has been added within the page’s <head> section.
If you are using a content delivery network (CDN), clear or purge the cached files so the latest changes can take effect.
Configure Supabase
Next, configure Supabase to track lead conversion events within the authentication callback function.
Here’s how the flow works:
- In the /api/auth/callback route, check whether:
- The linkkit_id cookie is available.
- The user is a newly created account (created within the last 10 minutes).
- If the linkkit_id cookie exists and the user is a new sign-up, send a lead event to LinkKit using linkkit.track.lead.
- Remove the linkkit_id cookie after the lead event has been recorded.
This ensures that new user registrations are correctly tracked and attributed to the link that brought the user to your application.
// app/api/auth/callback/route.ts
import { cookies } from "next/headers";
import { NextResponse } from "next/server";
import { createClient } from "@/lib/supabase/server";
import { waitUntil } from "@vercel/functions";
import { linkkit } from "@/lib/linkkit";

export async function GET(request: Request) {
  const { searchParams, origin } = new URL(request.url);
  const code = searchParams.get("code");
  // If "next" is included in the URL, use it as the redirect path
  const next = searchParams.get("next") ?? "/";

  if (code) {
    const supabase = createClient(cookies());
    const { data, error } = await supabase.auth.exchangeCodeForSession(code);

    if (!error) {
      const { user } = data;
      const linkkit_id = cookies().get("linkkit_id")?.value;

      // Consider the user as new if the account was created within the last 10 minutes
      const isNewUser =
        new Date(user.created_at) > new Date(Date.now() - 10 * 60 * 1000);

      // If the user is new and has a linkkit_id cookie, track the lead event
      if (linkkit_id && isNewUser) {
        waitUntil(
          linkkit.track.lead({
            clickId: linkkit_id,
            eventName: "Sign Up",
            customerExternalId: user.id,
            customerName: user.user_metadata.name,
            customerEmail: user.email,
            customerAvatar: user.user_metadata.avatar_url,
          }),
        );

        // Remove the click ID cookie after tracking
        cookies().delete("linkkit_id");
      }

      return NextResponse.redirect(`${origin}${next}`);
    }
  }

  // Redirect the user to an error page if authentication fails
  return NextResponse.redirect(`${origin}/auth/auth-code-error`);
}
// pages/api/auth/callback.ts
import { NextApiRequest, NextApiResponse } from "next";
import { createClient } from "@supabase/supabase-js";
import { linkkit } from "@/lib/linkkit";
export default async function handler(
req: NextApiRequest,
res: NextApiResponse,
) {
const { code, next = "/" } = req.query;
const origin = `${req.headers["x-forwarded-proto"]}://${req.headers.host}`;
if (typeof code === "string") {
const supabase = createClient(
process.env.NEXT_PUBLIC_SUPABASE_URL!,
process.env.SUPABASE_SERVICE_ROLE_KEY!,
);
const { data, error } = await supabase.auth.exchangeCodeForSession(code);
if (!error) {
const { user } = data;
const { linkkit_id } = req.cookies;
// Consider the user as new if the account was created within the last 10 minutes
const isNewUser =
new Date(user.created_at) > new Date(Date.now() - 10 * 60 * 1000);
// If the user is new and has a linkkit_id cookie, track the lead event
if (linkkit_id && isNewUser) {
linkkit.track
.lead({
clickId: linkkit_id,
eventName: "Sign Up",
customerExternalId: user.id,
customerName: user.user_metadata.name,
customerEmail: user.email,
customerAvatar: user.user_metadata.avatar_url,
})
.catch(console.error); // Handle any tracking errors
// Remove the click ID cookie after tracking
res.setHeader(
"Set-Cookie",
`linkkit_id=; Path=/; Expires=Thu, 01 Jan 1970 00:00:00 GMT`,
);
}
return res.redirect(`${origin}${next}`);
}
}
// Redirect the user to an error page if authentication fails
return res.redirect(`${origin}/auth/auth-code-error`);
}Lead Event Properties
The following properties can be included when sending a lead event:
Example App
To learn more about tracking lead events with Supabase, check out the LinkKit example application.
View Your Conversions
After completing the setup, all tracked conversion events will be available in LinkKit Analytics.
LinkKit provides three different views to help you analyze and understand your conversion performance:
Time-Series View
A timeline-based view that shows the number of:
- Clicks recorded from your links.
- Leads generated through conversion events.
- Sales attributed to your links.
This view helps you track conversion trends and monitor how your performance changes over time.
Funnel Chart View
A visual representation of your conversion funnel that displays conversion and drop-off rates across each stage of the customer journey:
Clicks → Leads → Sales
This view helps you understand how users move through each conversion stage, identify where users are dropping off, and find opportunities to improve your overall conversion performance.
Real-Time Events Stream
A live stream that displays every conversion event recorded across all links in your workspace.
This view gives you real-time visibility into conversion activity, allowing you to monitor incoming lead events, sale events, and other tracked actions as they occur.
Use the real-time events stream to verify your tracking setup and stay updated on user conversions across your workspace.